
How to Change a Baby's Diaper: A Step-by-Step Guide for New Parents
Changing a baby's diaper is a fundamental parenting skill. The basic process involves cleaning your baby, applying cream if needed, and securing a fresh diaper. The key to a safe, calm, and efficient experience is preparation—having your diapers, wipes, and a changing pad ready before you begin. This guide will walk you through creating a functional changing station and mastering the diaper-changing process.
Setting Up Your Diaper Changing Station
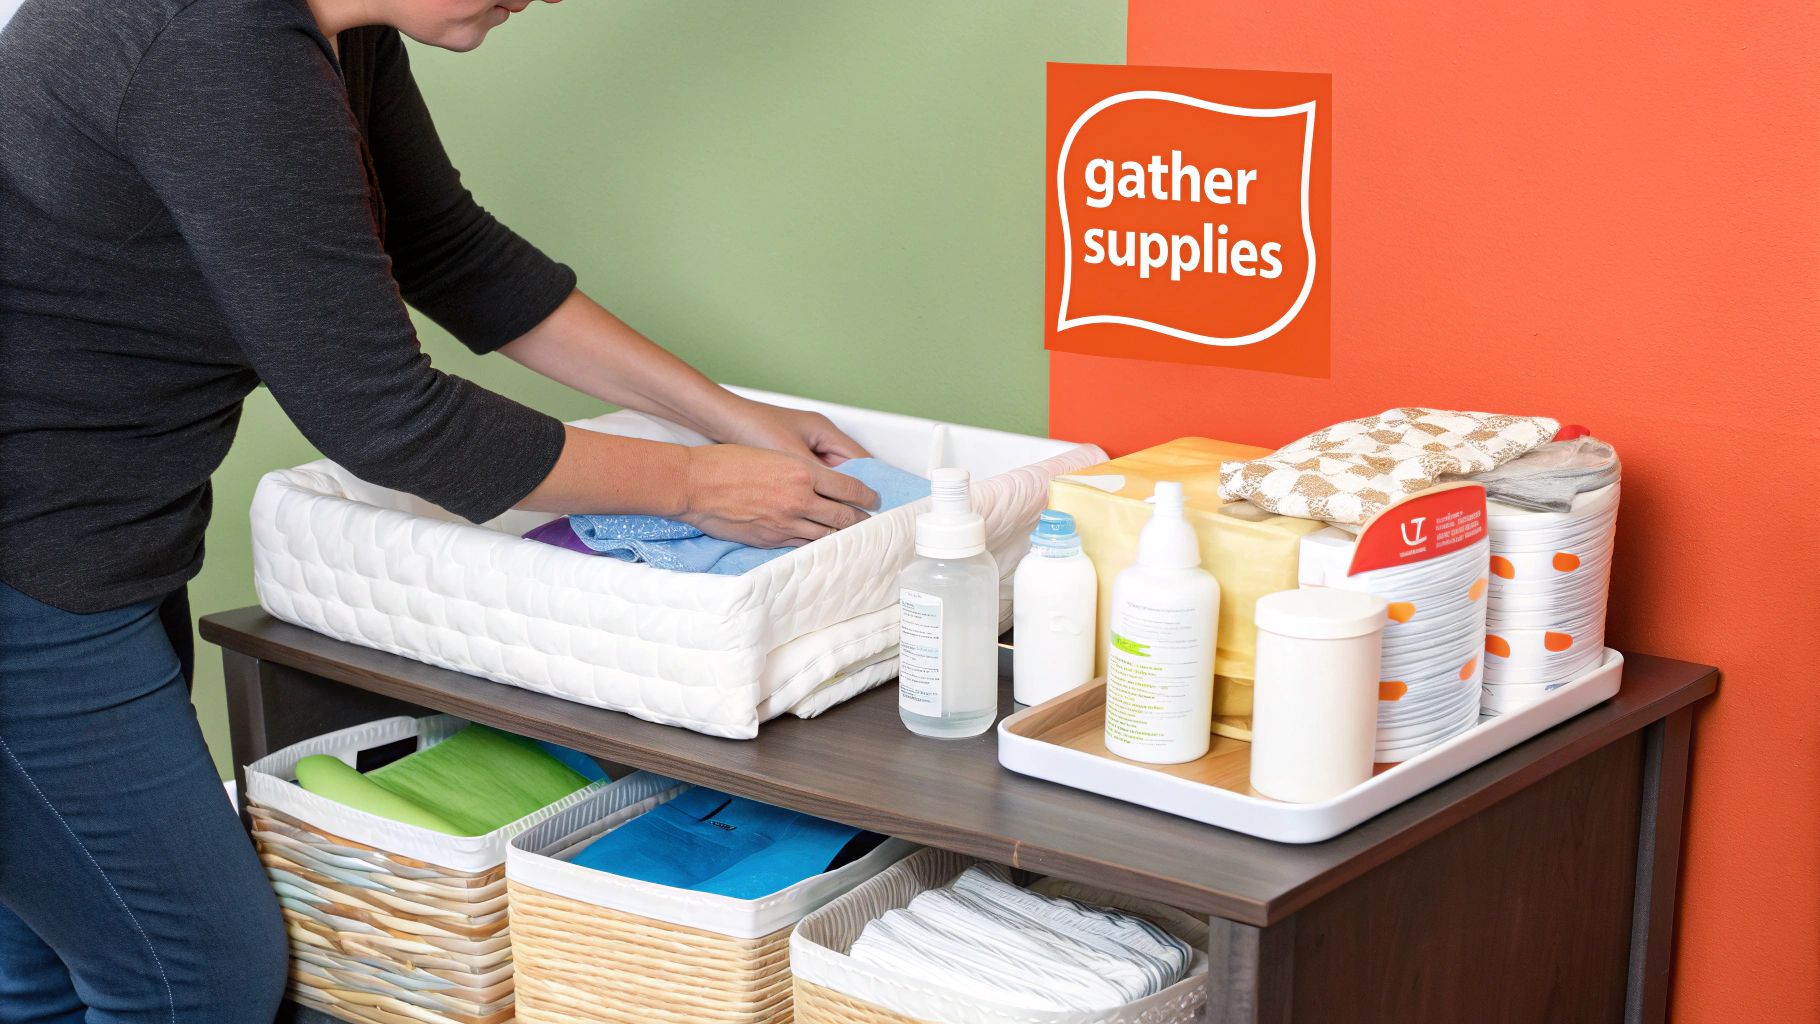
Before your baby's arrival, one of the most beneficial steps you can take is to set up a well-organized changing station. A dedicated, fully-stocked space transforms a potentially chaotic chore into a calm, manageable routine that benefits both you and your baby.
The primary objective is to have every necessary item within arm's reach. This is not just a matter of convenience; it's a critical safety measure that ensures you can always keep a hand on your baby. A well-planned station prevents the need to search for supplies while your baby is on the changing surface.
Creating an Efficient Space
Whether you use a dedicated changing table or a mat on the floor, the principles of organization remain the same. Arrange your supplies in the order of use: a fresh diaper and wipes should be closest to you, followed by diaper cream, and a designated spot for the soiled diaper.
This logical layout minimizes fumbling and helps the process flow smoothly. Consider using baskets or drawer dividers to keep smaller items—like nail clippers, lotion, or a spare pacifier—tidy and accessible. A clutter-free surface contributes significantly to an efficient and stress-free diaper change.
An effective changing station is defined by its functionality, not its cost. The top priorities should always be efficiency and safety.
Must-Have Supplies for Every Change
Given the frequency of diaper changes, keeping your station well-stocked is essential. The global baby diaper market, valued at approximately USD 78.5 billion in 2024, is a testament to the demand for these products, with disposable diapers being a popular choice for their convenience.
Here is a list of the essential items to have on hand for every diaper change.
Your Diaper Station Essentials Checklist
This table serves as a quick reference for stocking your changing station. Having these items readily available will prepare you for any situation.
| Item | Purpose | Pro Tip |
|---|---|---|
| Diapers | For absorbing waste and keeping your baby dry. | Keep a supply of the next size up. Babies grow quickly and unexpectedly. |
| Wipes | For cleaning your baby's skin during changes. | For newborns, select unscented wipes to minimize the risk of skin irritation. |
| Changing Pad | Provides a clean, comfortable surface for your baby. | A quality portable diaper changing mat is invaluable for changes outside the nursery. |
| Diaper Cream | Helps prevent and soothe diaper rash. | Apply a thin layer of barrier cream at the first sign of redness, especially before sleep. |
| Diaper Pail | A specialized container for soiled diapers that helps control odors. | A model with a hands-free lid is highly practical for hygiene and convenience. |
With these supplies prepared, you have a solid foundation for stress-free diaper changes. A small amount of preparation can significantly improve this daily care routine for you and your baby.
A Practical Guide to Changing a Diaper
Now, let's focus on the technique. Changing a diaper effectively is less about a rigid set of rules and more about developing a confident, smooth rhythm that keeps your baby safe and comfortable.
Begin by gently placing your baby on the changing station. The most important safety rule is to always keep one hand on your baby's chest or tummy. This simple, consistent habit is the most effective way to prevent a fall if your baby suddenly wiggles or rolls.
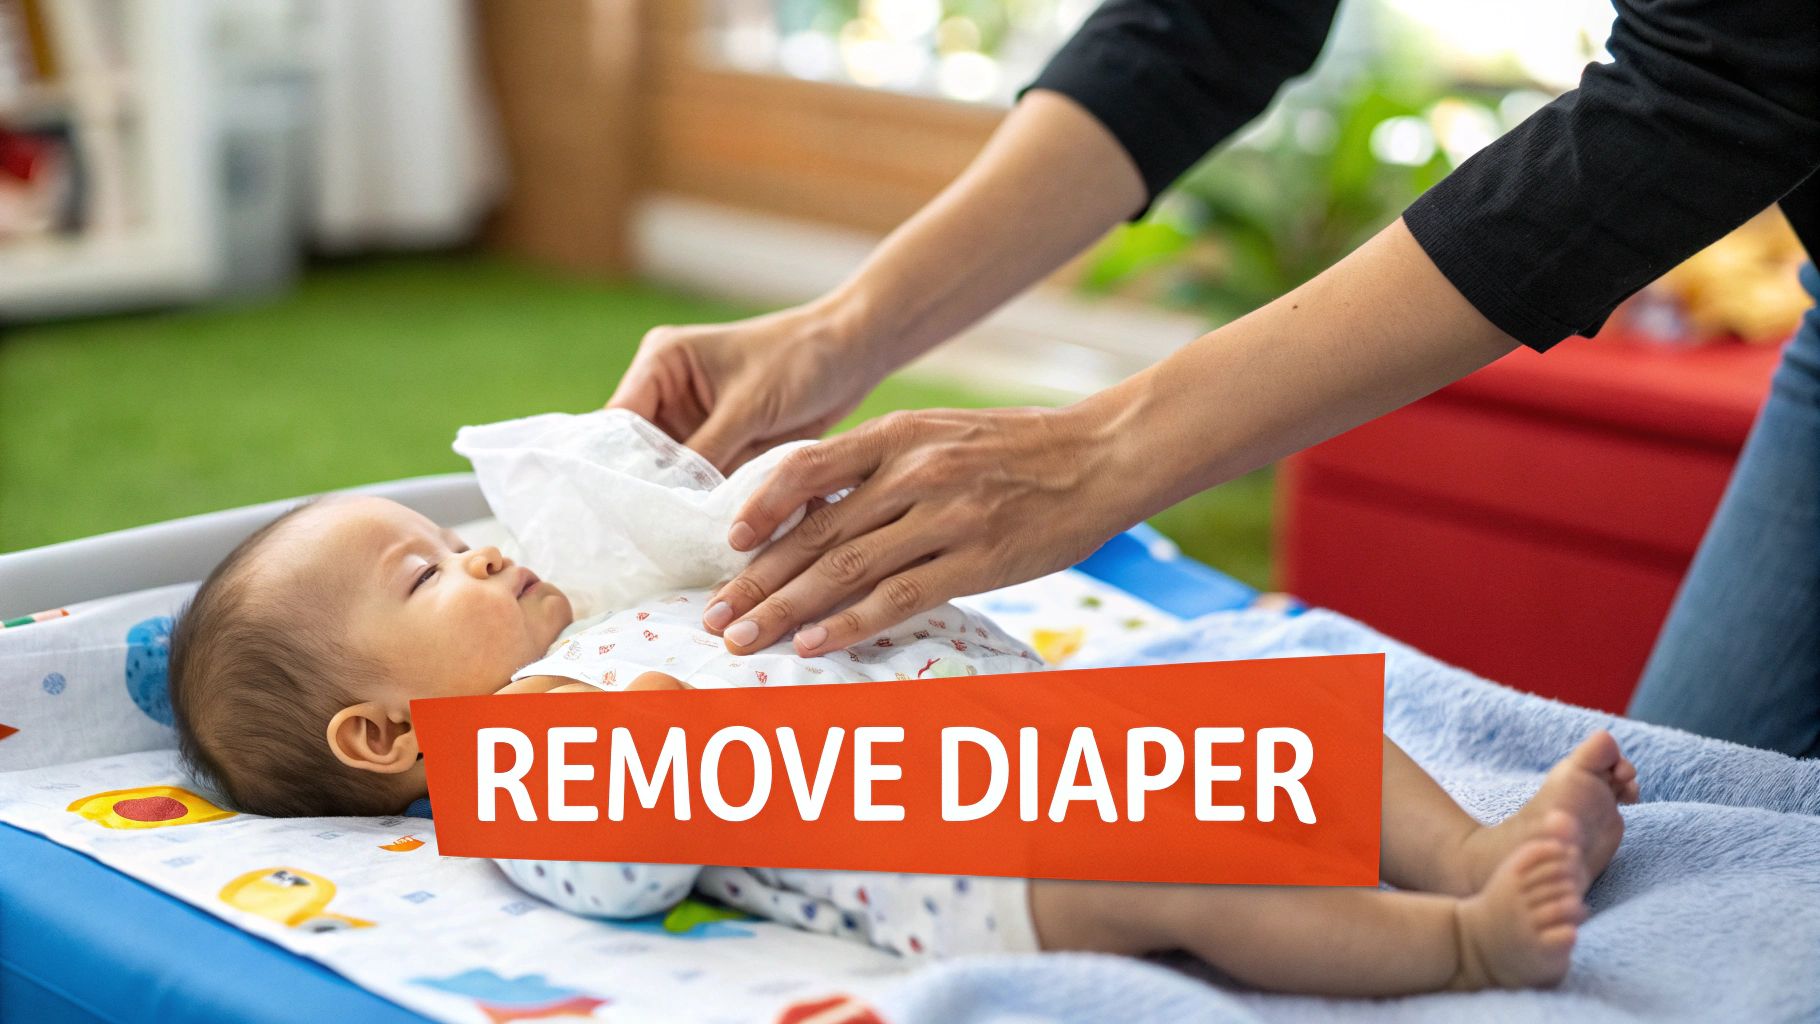
Once your baby is secure, unfasten the tabs of the soiled diaper but do not remove it immediately. Use the clean front portion of the diaper to wipe away any initial mess, always moving from front to back. Then, fold the dirty diaper down and tuck it underneath your baby's bottom. This creates a temporary barrier, containing the mess while you reach for wipes.
This infographic highlights the preparatory steps that contribute to a smoother diaper change.
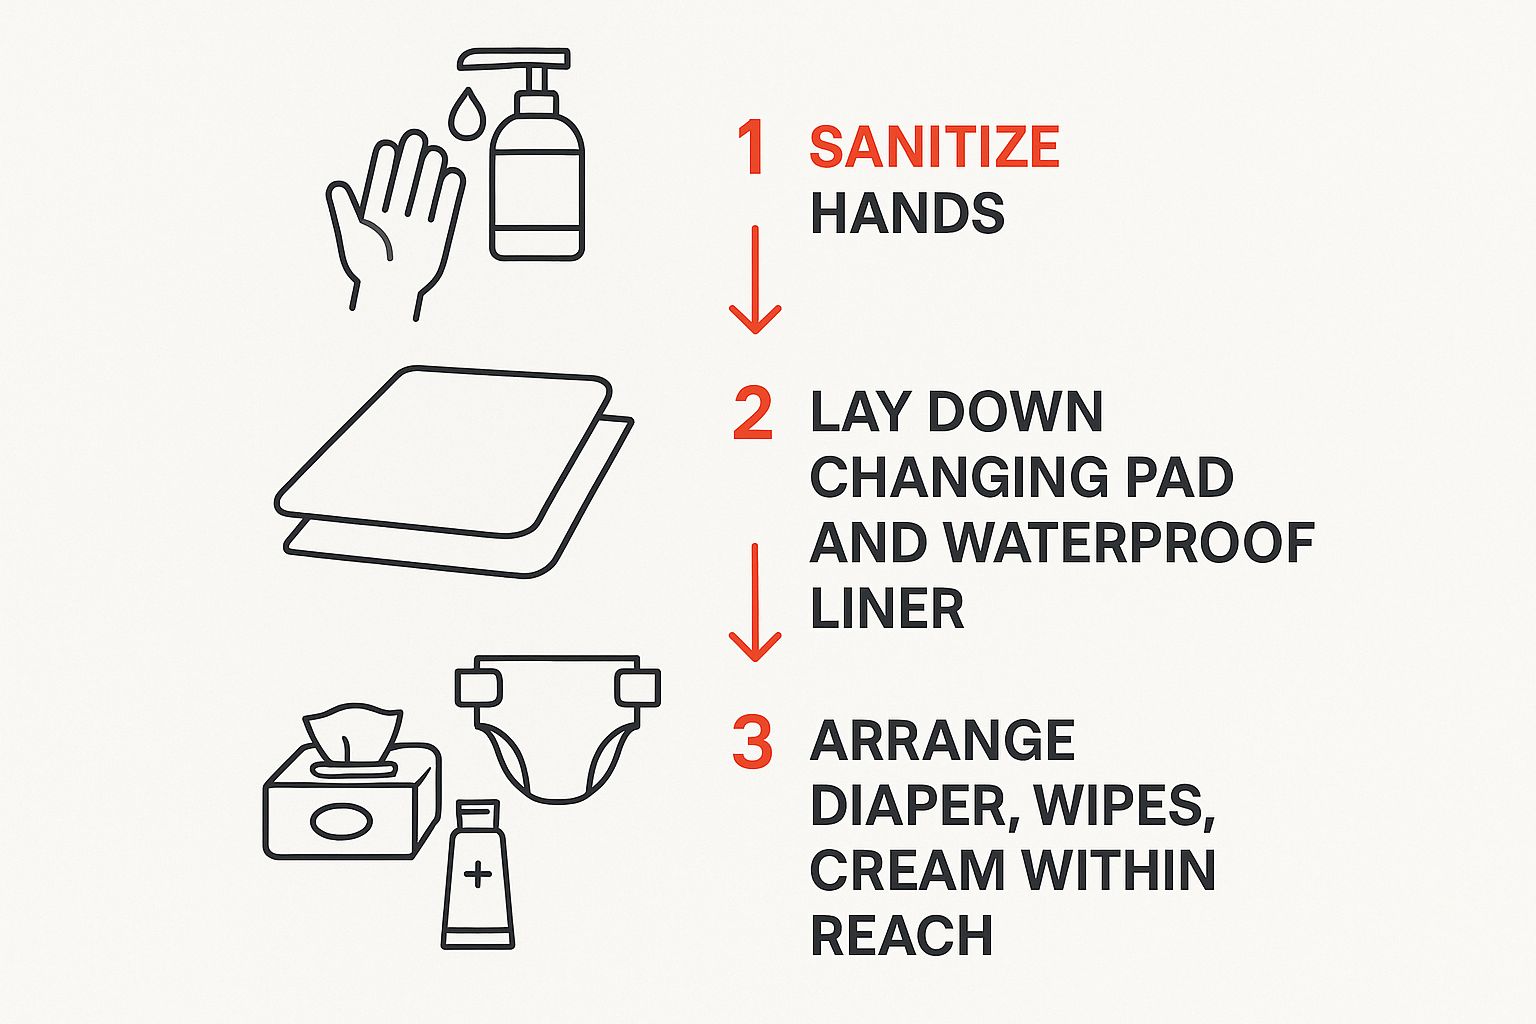
As illustrated, successful diaper changing begins with proper setup. This preparation is the key to a positive experience for both parent and child.
Cleaning Techniques for Boys and Girls
Proper cleaning is crucial for preventing diaper rash, irritation, and infections. It involves more than just removing waste; it's about protecting your baby's delicate skin. The cleaning technique differs slightly for boys and girls.
For baby girls, it is essential to always wipe from front to back. This prevents the transfer of bacteria that can cause a urinary tract infection (UTI). Gently separate the labia to clean away any residue, ensuring all creases are clean and dry.
For baby boys, begin by cleaning around the penis and scrotum to remove any stool. If your baby is uncircumcised, clean the exterior of the penis gently without attempting to retract the foreskin. A practical tip: after removing the soiled diaper, place a clean wipe or a small cloth over his penis to prevent being sprayed.
Remember to be thorough yet gentle. Over-wiping or harsh scrubbing can irritate sensitive skin. A calm, methodical approach is most effective.
Applying Cream and Securing the Diaper
Once your baby is completely clean, pat the area dry with a soft cloth. This step is critical, as trapped moisture is a primary cause of diaper rash. If you are using a barrier cream, now is the time to apply a thin, even layer.
Next, slide the clean diaper under your baby's bottom, aligning the top of the back panel with their waist. Bring the front panel up between their legs.
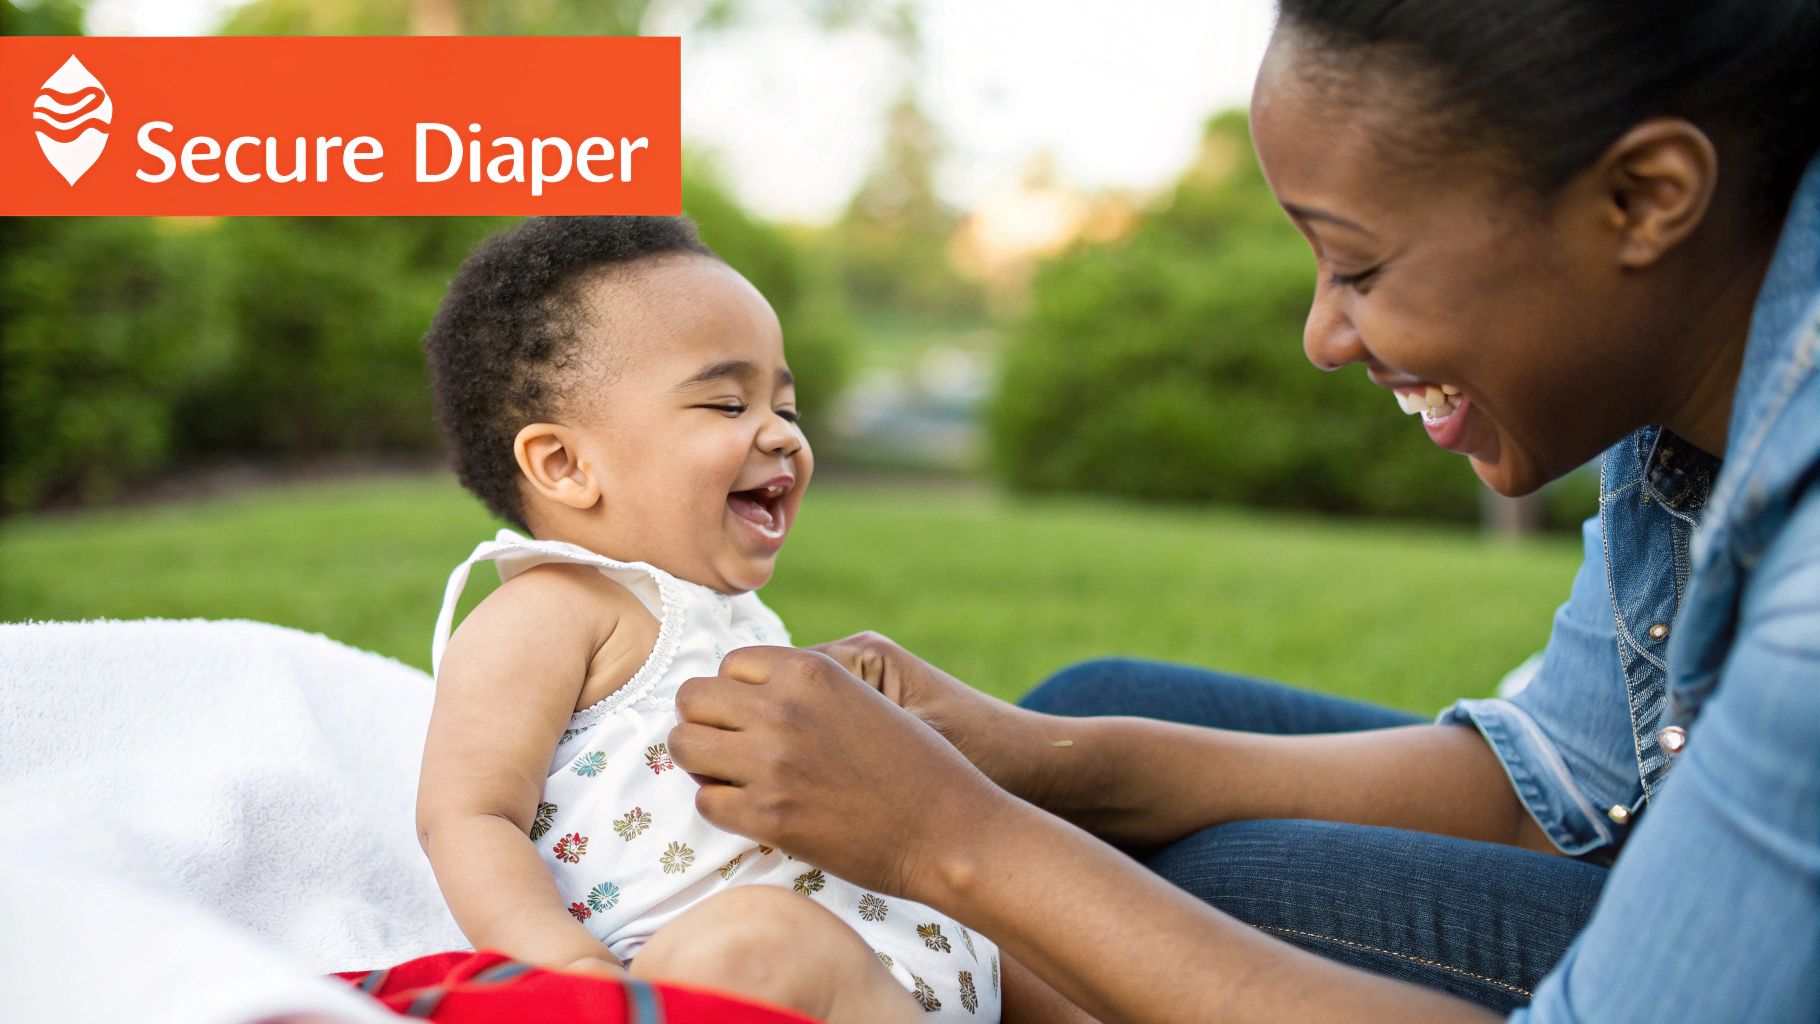
Achieving the correct fit is the final step. Fasten the tabs so the diaper is snug but not tight. A reliable method is to ensure you can comfortably slide two fingers between the diaper and your baby’s tummy. Finally, check that the ruffles around the leg cuffs are flared outwards, not tucked in, as they serve as a leak guard.
With these steps, you have completed the diaper change, turning a necessary task into a moment of attentive care.
Choosing the Right Diaper for Your Baby
The diaper aisle can be overwhelming for new parents. However, finding the best diaper is less about a specific brand and more about what suits your baby's needs and your family's lifestyle. The right choice is one that simplifies the diapering process.
Two main styles dominate the market: traditional taped diapers and pant-style pull-ups. For newborns and young infants, taped diapers are generally the preferred option. They provide a secure, adjustable fit that is ideal for babies who are not yet mobile.
As your baby becomes more active, you may find that taped diapers become more challenging to use. A wriggly baby can make diaper changes feel like a wrestling match. This is where pant-style diapers become particularly useful. They are designed for quick changes, often while the baby is standing, which is a significant advantage for parents of active toddlers.
Taped Diapers vs. Pant-Style Diapers
Pant-style diapers are growing in popularity due to their convenience. They are projected to hold about 60% of the global market share by 2025, largely because they meet the needs of mobile babies and toddlers.
- Taped Diapers: Best for newborns and young infants. They are applied while the baby is lying down, allowing for a precise and snug fit around the waist and legs.
- Pant-Style Diapers: Ideal for older, active babies and toddlers. They can be pulled on quickly, which simplifies changes and reduces fuss.
Cloth vs. Disposable Diapers
Another key decision is whether to use cloth or disposable diapers. This choice often depends on your priorities regarding convenience, long-term cost, and environmental impact. There is no single correct answer—only what works best for your family.
The right diaper is one that streamlines your routine. Whether you opt for cloth for its sustainability or disposables for their convenience, the goal is to find a solution that reduces stress while keeping your baby comfortable and dry.
Disposable diapers offer undeniable convenience, especially for travel and daycare. However, they contribute to landfill waste and represent an ongoing expense.
Cloth diapers, on the other hand, require a larger initial investment but can be more cost-effective over time. They are a more environmentally friendly option but necessitate a consistent laundry routine. This is one of many factors to weigh when gathering the must-have baby essentials every new parent needs. Many families find a hybrid approach works well, using cloth diapers at home and disposables when out and about.
Managing Common Diaper Changing Challenges
Even with experience, diaper changes can present challenges. Unexpected messes or a resistant baby are common occurrences. Learning how to handle these situations can help you remain calm and effective.
A common issue is the diaper blowout, where a large bowel movement escapes the confines of the diaper. The first step is containment. Use the diaper itself to wipe away as much of the mess as possible before moving your baby to minimize the cleanup area.
Another challenge is a baby who becomes squirmy during changes. As soon as your baby can roll or wiggle, the changing table can become a difficult space. Distraction is an effective strategy.
A beneficial tactic is to reserve a special, engaging toy that is only available during diaper changes. The novelty can help hold your baby's attention. Singing a song or making funny faces can also provide a brief, helpful distraction.
Handling Diaper Rash
Diaper rash is a common condition that most babies experience at some point. It appears as red, tender-looking skin in the diaper area and is typically caused by prolonged exposure to moisture and friction. The primary goal of treatment is to keep the area clean and dry.
Once you notice redness, you can take immediate steps at home to prevent it from worsening.
- Increase Air Exposure: Allow your baby some "diaper-free" time each day. A few minutes on a towel placed over a waterproof mat lets the skin breathe and dry out, which promotes healing.
- Gentle Cleaning: If the skin is irritated, commercial wipes may cause stinging. Use a soft washcloth with warm water for cleaning. Pat the area completely dry before putting on a new diaper.
- Create a Protective Barrier: Apply a thick layer of a diaper rash cream containing zinc oxide. This creates a protective seal against moisture, allowing the underlying skin to heal.
Being prepared with these strategies for blowouts, wigglers, or rashes can make diapering a less stressful part of your daily routine.
Diapering On The Go And Through Growth Spurts
Once you have established a routine at home, you will inevitably need to change a diaper while out. Managing diaper changes in public spaces or in your car is a common parenting experience.
Success in these situations depends on a well-prepared diaper bag. You don't need to pack everything, just the essentials: several diapers, travel-sized wipes, diaper cream, and a bag for disposal. An indispensable item is a portable diaper changing pad clutch for newborn. It provides a clean, soft surface anywhere, making the task much more manageable.
Adapting To Your Growing Baby
Your newborn will not remain small and still for long. Your diapering routine will need to adapt as your baby grows and develops.
During the first few months, you may change diapers as often as 10 to 12 times a day. By your baby's first birthday, you will have used nearly 3,000 diapers. This evolution is not just about the number of diapers; your technique must also evolve.
A sudden increase in leaky diapers is often the first indication that your baby has hit a growth spurt and requires the next diaper size. Once they begin to crawl and become more active, you may find that pull-up style diapers are more convenient for quick, standing changes.
The key is to anticipate these changes. When your baby starts to roll over during a change, it's a signal to adapt your strategy. Introduce a special toy or sing a song to keep them engaged. Flexibility and adapting to their new developmental stages will make the difference between a struggle and a smooth, easy change.
Got Questions? You're Not Alone.
Even experienced parents have questions about diapering. It is a normal part of learning to care for a new baby. Here are answers to a few common queries.
How Do I Know When to Size Up?
Recognizing when it's time to move to a larger diaper size is important for preventing leaks and ensuring comfort. Frequent leaks or "blowouts" are the most obvious signs.
Also, look for red marks around your baby’s thighs or abdomen after removing a diaper. These marks indicate that the diaper is too tight and that it is time to transition to the next size up.
How Tight Should the Diaper Be?
The ideal fit is a balance between being snug enough to prevent leaks and loose enough to be comfortable. A good way to check this is with the two-finger rule.
After you have fastened the diaper, you should be able to comfortably slide two fingers between the waistband and your baby’s belly. This ensures the diaper is secure without constricting your baby’s movement or breathing.
For more practical parenting tips and to discover baby essentials designed for safety and convenience, explore the collection at MiniPrecious. You can find helpful resources for your parenting journey here: https://miniprecious.com.
